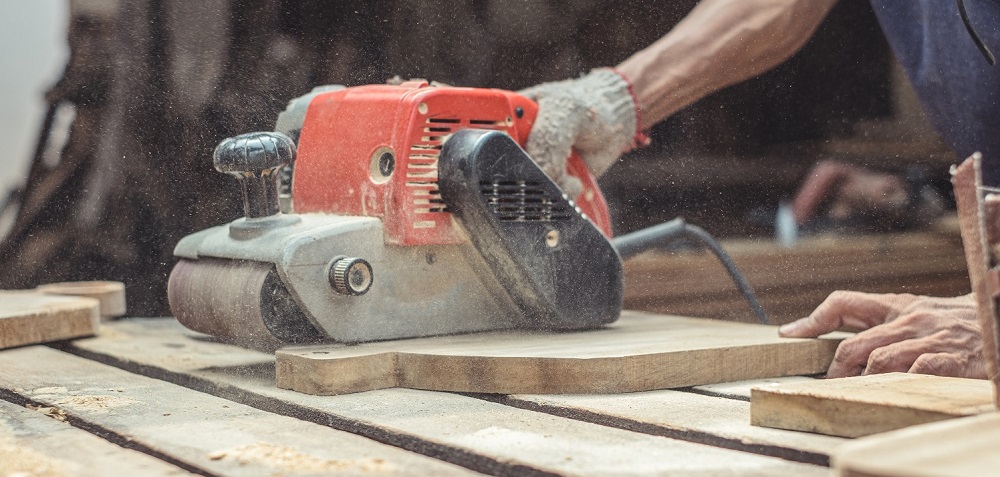
Let’s start off by saying that a belt sander isn’t an inexpensive machine. Depending on what size the consumer has bought, some of these models can be especially pricey. And that’s why the consumer should make sure to take the time to keep it in the best running condition possible. After all, a belt sander is an investment, so it’s about time that we all treat it as such.
Taking proper care of your quality belt sander doesn’t just prevent it from breaking down, however. It’s also important to keep it running at its best. That’s why we’ve decided to dedicate this entire blog post to how a person can maintain their belt sander for added life and performance in the home workshop.
Check The Sander’s Rollers
One of the first steps to ensuring that your belt sander is in good condition is to check its rollers regularly. The rollers, or drums, is what the belt sits on while the machine is running, so it’s important to make sure that they’re properly aligned. Since they need to be frequently realigned on most models, refer to your machine’s owner’s manual to find out how to adjust it. If the rollers tilt, then the belt may slip off and can damage not only the belt but also the housing as well.
Check The Sander’s Platen Check
While you’re checking the rollers, you should also take the time to check the belt sander’s platen for signs of wear and tear. Look for cracks, general wear, and any dents that it might have. Eventually, depending on how much the sander is used, all platens will need to be replaced. As the platen wears, the chance of it damaging or causing unnecessary wear on the belt increases, so it’s important to keep on top of its condition.
Keep The Belt Sander Vacuumed
Another way to keep the belt sander in good condition is to regularly vacuum it. Some machines have a vacuum adapter built into them that makes this project easier to do and allows the machine to be vacuumed as it’s being used. However, if the belt sander doesn’t have this attachment, then the user still has to make the effort of vacuuming out their sander to keep it in good condition.
A sander that isn’t vacuumed is more likely to malfunction than one that is vacuumed regularly. If your sander doesn’t have a vacuum port, then use a shop-vac to remove as much dust from the unit as possible. In areas that can’t be reached by a shop-vac, then use compressed air to blow the dust out of the unit.
Regularly Change The Belt
Another thing that can keep the belt sander running like a new machine is changing out the belt on a regular basis. But replacing a belt isn’t just about keeping performance from degrading, it’s also about safety. A worn belt can skip off the roller or can break and cause serious injury to the operator. Therefore, it’s important for the consumer to refer to their owner’s manual to find out how often the belt should be changed and how to do it.
Perform A Cord & Plug Inspection
The belt sander’s plug and/or cables are something that is often overlooked during routine maintenance but is still something extremely important for the proper operation of the machine. Frayed or damaged cords can cause damage to the sander’s motor, so it’s important to do a visual inspection every once in a while. If the cord is cut or otherwise damaged, it should be immediately replaced and not covered with electrical tape as a bandaid. It’s also important to check its prongs and make sure that they aren’t burned or discolored. If any of these defects occur, then the cable and the plug should be immediately replaced.

Inspect The Machine’s Wheels
It’s also a good idea to keep an eye on the belt sander’s wheels if it is so equipped. If the sander is going to be stored for extended periods, then the consumer should keep it lifted off of its wheels to prevent the wheels from becoming flat.
Cleaning Abrasive Sanding Belts
Let’s face facts here, abrasive sanding belts aren’t cheap, so many consumers are reluctant to throw them away when they become clogged with wood dust. And we can sympathize with that problem. Fortunately, there is a way for the consumer to clean their abrasive sanding belts, which can help them mitigate the cost of the belts.
How can these belts be cleaned? They can be cleaned by the consumer buying a Belt Cleaning Stick—which is a cleaning stick that costs anywhere from $9.00 to $20. This stick allows the consumer to clean their abrasive sanding belts quickly and easily, so it’s definitely something most consumers are going to want to invest in.
Of course, since most people don’t like the idea of having to buy another piece of equipment to keep their belts clean, they might want to try out a low-cost solution. The low-cost solution we’re referring to is using an old crepe shoe to clean the abrasive belt.
How can a shoe be used to clean an abrasive belt? Well, it’s easy. All that has to be done is for the operator to clamp the sander upside down to its workbench. When that’s done, the machine is then turned on and the operator can then press the rubbery sole of the crepe shoe against the running belt. As they do this, they should then move the shoe side-to-side to make sure they treat the entire surface of the belt.
It should be noted that if the consumer plans on using the sole of a crepe shoe for cleaning their abrasive belt, they should make sure to wear the proper safety equipment and to remove the shoelaces from the shoes before beginning the process. After all, you don’t want the shoelaces caught in the sander and causing a potentially dangerous situation. And nobody wants that to happen.


