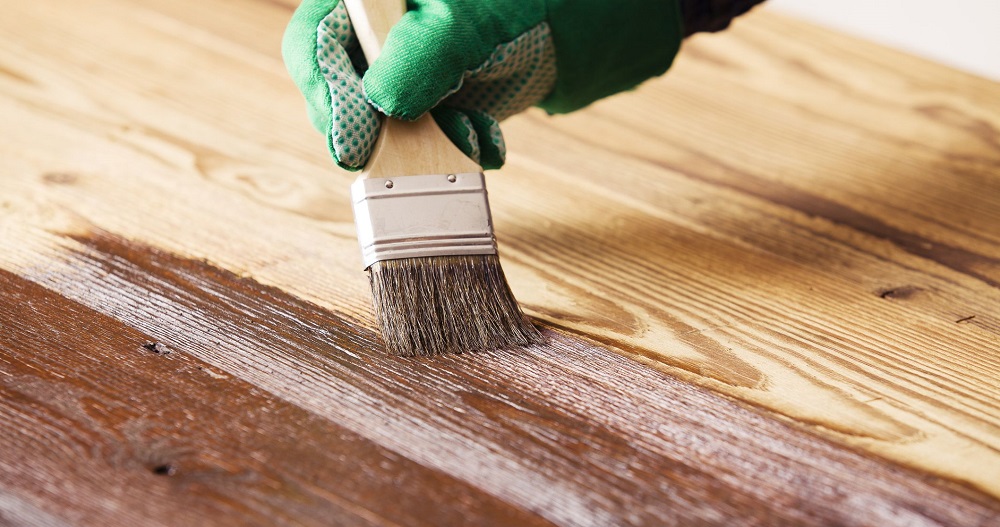
Even though wood is a great building material and can be used for all kinds of different projects, the consumer needs to make sure that they use it properly to achieve the best results. And that includes making sure that the wood is properly prepared before it’s painted or stained. To help our readers get their wood projects ready for primetime, we’ve decided to give out the following helpful tips. Following the below tips will help consumers achieve the best results.
Place A Moisture Meter Into Your Toolbox
One of the first steps a consumer can do to make sure that all of their wood projects are properly done is by purchasing a moisture meter. A moisture meter not only allows the consumer to determine the moisture in the wood to see if it’s a suitable candidate for painting or staining, but it can also be used to check deck wood to see when it needs to be replaced. And if all of that isn’t a good enough reason for everyone to own a moisture meter, they can also be used to search for hidden leaks behind walls or underneath floorboards.
The main purpose of this tool, however, is to make sure that the moisture content of the wood that you’re thinking of staining or painting isn’t too high. If the moisture content is too high, then paint or stain will have a problem adhering to the wood. Therefore, using a moisture meter can be a good way to keep that from happening.
Choose The Proper Wood Type
Although it’s beyond this guide’s scope for us to go through all of the different wood types to advise our readers on what type of wood is good for each project, we do want to state that the consumer should do the research and buy the proper wood for their project. They should also make sure to pay attention to the wood’s grain type and direction, especially if they’re going to be using it as a repair on an existing piece of wood. That’s because once a stain has been placed on a piece of wood, any grain differences that might exist between it and an adjacent piece of wood is going to be pronounced.
Making Sure Bare Wood Is Primed
When working with bare wood, it’s important that the consumer take the steps to seal all of the knots on the piece of wood with a shellac-based primer. This process is known as spot priming, and it’s important to provide a proper base for the paint or stain that’s going to be later applied to the product.
Fill In The Wood’s Holes
The consumer is also going to want to make sure that they fill in the holes or cracks that might exist in the wood. This is done by using either an interior or exterior wood filler. A high-grade wood filler won’t contract as much as lower-grade wood fillers, so that’s an important fact for consumers to consider when they’re searching for a wood filler.

Properly Sand The Wood
Another thing that should be considered is sanding the wood. This is an important process that shouldn’t be taken lightly because improperly sanding the wood can have a negative effect on the end product. Below are some tips that will help our readers do a better sanding job on their projects and achieve more professional results.
Tip One: Use The Proper Sandpaper Grit
When working with wood, it’s important to use the proper wood grit. Consumers should start sanding softwoods with a #120 sandpaper and finish with either a #180-grit sandpaper for oil-based stains or a #220 sandpaper for water-based stains. Softwood includes woods such as Douglas Fir, Redwood, Southern Pine, and Eastern White Pine.
When working with hardwoods, the consumer should begin with a #120 sandpaper and then finish with either a #150 grit for oil-based stains or a #180 grit for water-based stains. Examples of hardwoods include Maple, Oak, Walnut, and Teak.
Tip Two: Start With A Coarse Sandpaper And Work Towards A Fine One
The key to proper wood sanding is to start with the correct sandpaper coarseness and then progressively work your way down to finer sandpapers. Skipping a grade or sandpaper in between the necessary coarse and fine sandpapers can leave valleys that make the wood look less refined. As a general rule, the coarser the sandpaper used, the darker the stain will set and the finer the sandpaper, the lighter the stain will be. Below are some sandpaper categories and the associated grits.
Extremely Coarse Sandpapers:
- #16
- #20
- #24
- #30
Coarse Sandpapers:
- #36
- #40
- #50
Medium Sandpapers:
- #60
- #70
- #100
Fine-Medium Sandpapers:
- #120
- #150
- #180
- #220
Very Fine Sandpapers:
- #240
- #280
- #320
- #360
- #400
- #600
Tip Three: Do Not Over-Sand Wood
We can’t stress it enough that the consumer should be careful not to over-sand their wood. Over sanding can dramatically alter the final stain or painting result, so only do the amount of sanding that’s necessary for the job.
Tip Four: Remove Dust From The Surface
Another thing that’s important after sanding wood and before applying paint or stain, is to remove the dust from the wood’s surface. This can easily be done using a damp cloth or an air hose. Failing to remove excess dust will prevent the stain or paint from properly adhering to the surface of the wood. This will result in a poor end result.
Tip Five: Keep In Mind What Determines The Final Stain Color
The final tip we’d like to leave our reader with is the factors that determine the color of the stain. Not only does the stain’s color determine the result, but also the type of wood that’s used, how porous that wood is, and how the stain is applied. If the consumer knows these variables, they can achieve great results staining their wood. And this can allow them to make custom staining projects that the uninitiated wouldn’t even realize they could achieve. It’s something to keep in mind as you refine your staining skills.


